Saturday, November 28, 2015

All happy Karuvepilai

The Karuvepilai/ curry leaves plant that I mentioned in here is really having a good time after the recent rains. Isn't it a great sight to see the young shoots bursting to life ? We do regularly pluck leaves from the plant for our culinary uses and this actually helps the plant as they love a good dash of pruning to grow bigger.


Apart from this one, we do have another curry leaves plant that popped in voluntarily. This plant started growing in the gap between the rose bush containers and the jasmine bush and we were delighted when we found it is a karuvepilai tree. We are always happy to have volunteers and that too a tree variety like this one..


All smiles :). 

Friday, November 27, 2015

Snake guards

Finally here is one creeper that we planted right on season. We have a total of 4 புடலங்காய் /snake guard plants that survived out of the seven seeds sowed in late August. Flowering started within a month and fruiting started in late October. We have harvested two snake guards till now and waiting for three more that are still in the growing phase..

Than writing about,the pictures will tell us what a lively greenery they provide us with..
Germination

No trellis provided..they climbed their way hugging the wall

Up,up and up they went

What a pretty and unique designed flower..


The first fruit..

The second one..Oh yea, the fruits tend to wind in a circle ..

So how did this third one end up straight as an arrow?

The trick is to tie a little stone at the end to straighten it..

More fruits forming

New promises
P.S: By the way, this is our garden blog's 50th post this year. So Yay to that :)

Thursday, November 26, 2015

Hiya .. Avarakais' are here again:).

Last march I was too enthusiastic while planting french beans that I planted some flat runner bean seeds as well.. Only after they sprouted and took life that I came to know that avarakai plant does not go into reproduction all through the year. It is a short day plant and requires fog and humid to start flowering.

And thus our journey started in giving a suitable living place for the creeper all through that scorching summer. Everytime we doubt ourselves on the use of maintaining a big creeper that occupies most of the place I used to request to wait until at least September as I had read somewhere that some runner bean creepers flower in Sept-. In the meanwhile there is the task to fend off pests and then guiding the creeper to climb up the terrace.

September came and I saw a single branch of flowers but soon they were gulped by a hoard of caterpillars. And then there were no flowers.. small buds would form and dry up or get eaten by the pests. Thus went another two months spent in wading off the caterpillars. Along with that,every often we found out new and young shoots been clipped off and eaten by something and we were never able to find out the culprit.

All in all a tough 8 months and then finally the season arrived this november and the plants started flowering .. Oh! what a joy and relief in seeing some results for all the anticipation built regarding them. These recent days,the leaves are greener than they have ever before and looks lively. I think they liked this rain and the foggy winter in the late evenings. And a lot more flower branches are visible.. So finally something to rejoice about!
Most of the shoots eaten up - Pic taken in Sep
Climbed till here from the ground
Yes, it is difficult to track the main stem and the roots

The purple stem hints that it is a purple avarakai

The green stemmed plant with green avarakai

Just born :)

New promises

New promises
A purple avarakai in sight
It feels like such an accomplishment when I saw those little pods. We harvested just two pods for now and waiting for the rest to grow. Will I ever do the mistake of planting off season ? Probably I will but I'll wait till late June atleast next time :).

Wednesday, November 25, 2015

Thulasi/Holy Basil

Considered a sacred and holy herb, the aromatic plant Thulasi(Ocimum tenuiflorum) can be easily propagated via seeds. And that is how we did it. My sister in law brought us some seeds that she procured from the plant that is growing in her terrace. We had never hosted a Thulasi/Holy basil plant in our garden ever before and so thought of doing a trial run in one of the terracotta pots lying around.

Seeds were sown on 6th August and no other care given to the plant except for regular watering and making sure the soil surface is always moisty. The potting soil was only a mixture of red soil with little manure and the pot was placed in a semi shaded area.I did not really sow the seeds ..The seeds were so light and thin and felt almost like rice husk.Hence I just threw them over the soil and left it as it is without covering with a layer of soil.
Germination of Thulasi/Holy Basil Leaves
The husk like seeds that are yet to germinate,lying all around
The ones that survived
A good rains' drench now and then
Branching out
Very recently the plant started flowering.I was in for a surprise for I have not seen a thulasi flower up close till now. The tiny little purple flowers are mesmerizing and so is the aroma coming from the leaves. Just a finger's touch on the leaves, leaves you with a lingering aroma for a while. 

Tuesday, November 24, 2015

Seed saving story#3 : Ladies finger

Last time when I posted about Ladies finger harvest,I so wanted to post a picture of the okra flowers but somehow it got missed. Ladies finger flowers are so pretty that it felt such a disgrace not to have posted any. So here is a sample before I move on..

Overall we had a reasonable harvest from the five plants that were grown in the containers. The problem here is most of the ladies finger plants produce one pod per day so it is only when you accumulate at least 15-20 you can make use of it in the kitchen. This sort of scenario poses a question on the freshness of the home grown vegetables. So it is always ideal to plan your number of plants to be sown based on your home requirements.


What I actually wanted to register in this post is our Ladies finger seed saving efforts.When we sowed the seeds for this season we used all of our stock. The seeds we had were of a good quality and the plants went on to produce really long and firm pods. So we decided to leave one pod on the plant to produce seeds for the next season.Ladies finger pods are known to 'blast' open once mature. So it is really wise to tie them up when they are mature and green like here..

Slowly the mature pods turn yellow and then brown and slowly rips open across the edges. The technique is to let it be on the plant till the stack is completely dry and then cut the pod off.


We are planning to dry the pod in sunlight for some more days before opening it and for now it is happily resting near the seed cabinet.

Monday, November 23, 2015

Purple chillies - update

Well, here is the progress of the Bolivian purple chilly plant. I had hoped in my earlier post for the plants to put on good growth this year. Since the start, these chilly plants had borne numerous flowers but almost 80% of them had fallen without fruiting. But since my last post, things have changed drastically. Some blessed bee had done a fantastic job pollinating the flowers and now we have quite a number of purple fruits. It is certainly a pleasing sight to look at them gradually changing colors as they mature.. Have a glance!


We have still not used them in our cooking..there is a good chance that all of these fruits may be left for seed saving. I'll wait and see how it goes. 

Saturday, October 10, 2015

Sunny side up

There is this saying which goes as " When was the last time you did something for the first time.."

Ever since I came across this saying I had been trying to do something different every now and then from my routine life. Gardening happened as one of my first try-outs and in the world of gardening, there are limitless things to try for the first time. Thus we had our first Sunflower last month.

The Sunflower seeds were more of an impulse buy when we were shopping for seeds and we never really expected anything out of it when we first sowed them. For a mere five rupees we had around 100+ seeds and so we were throwing the seeds here and there. Absolutely no extra care was given as we did not know much about Sunflower growing methods. Only thing we did was to check for mealy bugs but then these are kind of trap crops to check the bug infestation.

Around 10 plants took life and within a month we had the first bloom. We were in for a surprise as this is the first time I am getting a close up look at a Sunflower. The flower anatomy is so complex yet so beautifully pattered with such vibrant colors. I am very glad we took the risk of growing them.

The blooms are not very big compared to commercial cropping but the flowers' size suits our small garden very much. 

We were happily exclaiming how the center part of the flower resemble one of our kolam(rangoli) design. 
But not all of the blooms were perfect. Some are like this.. I could not seriously guess what made it go this way..
The first flower stayed for a week or so in good condition and then slowly started withering and became like this:

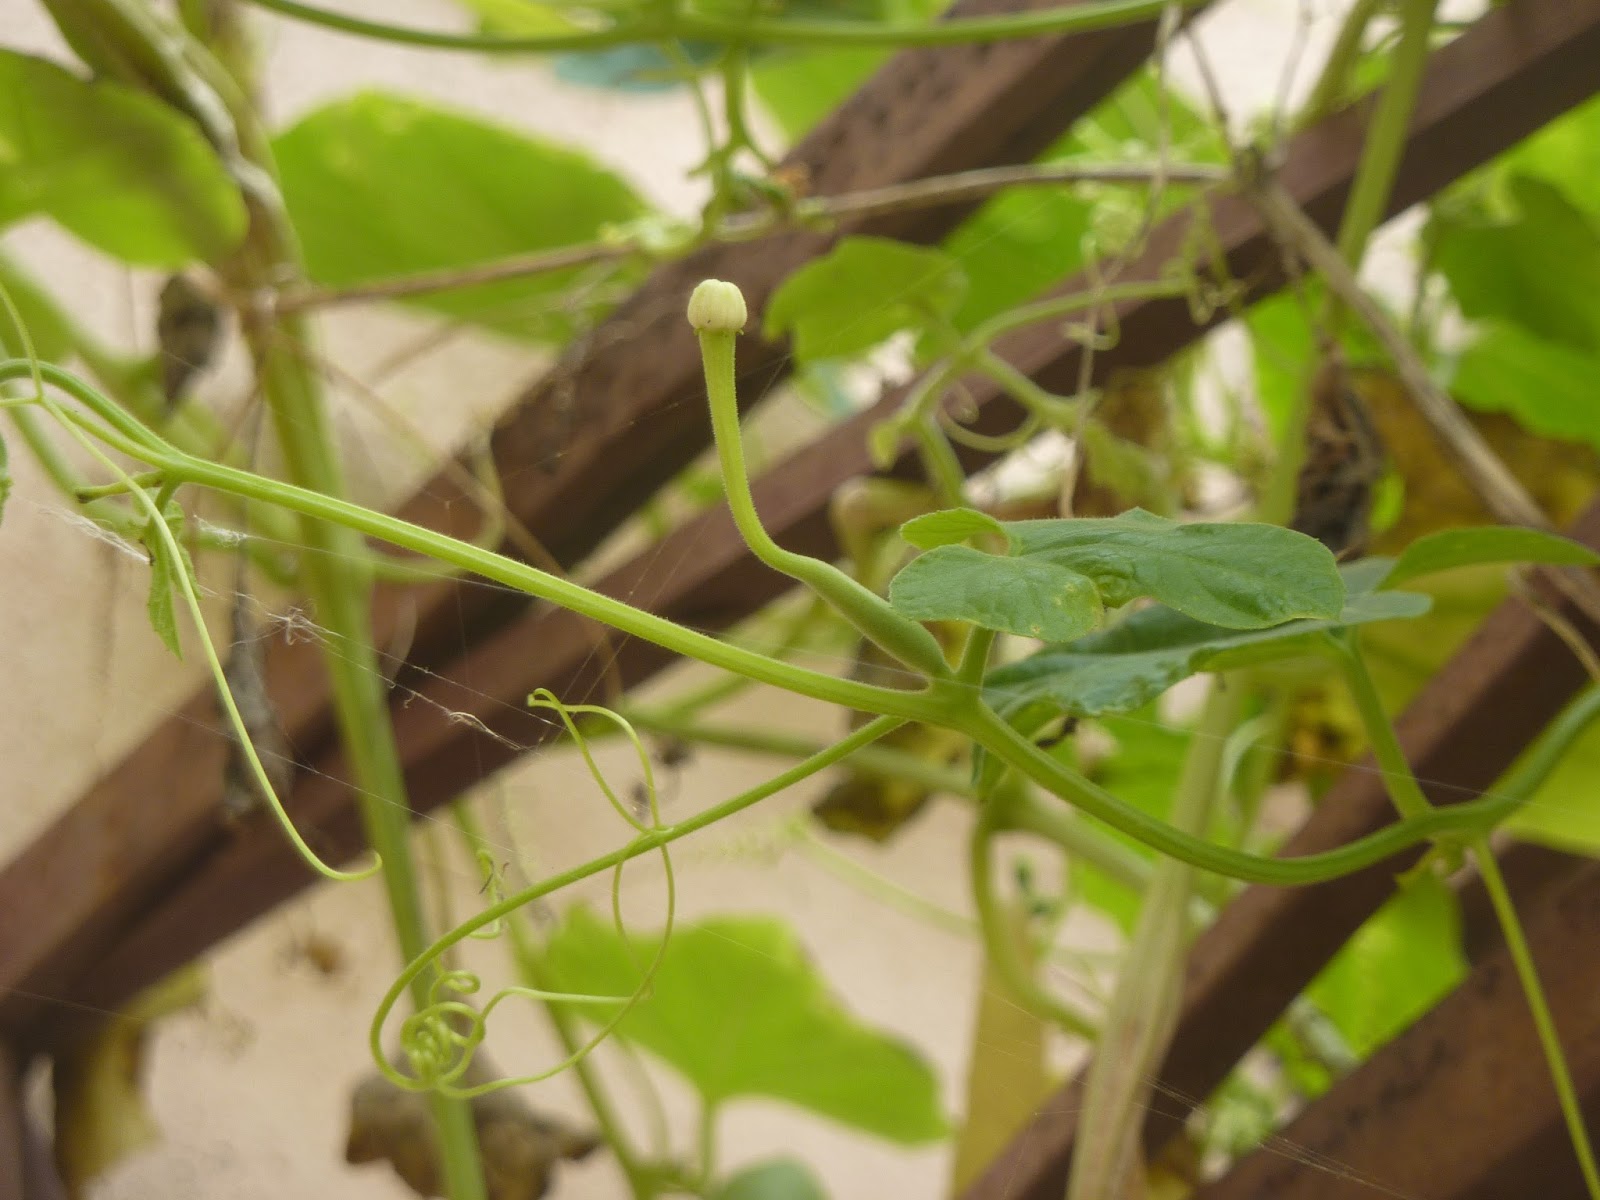
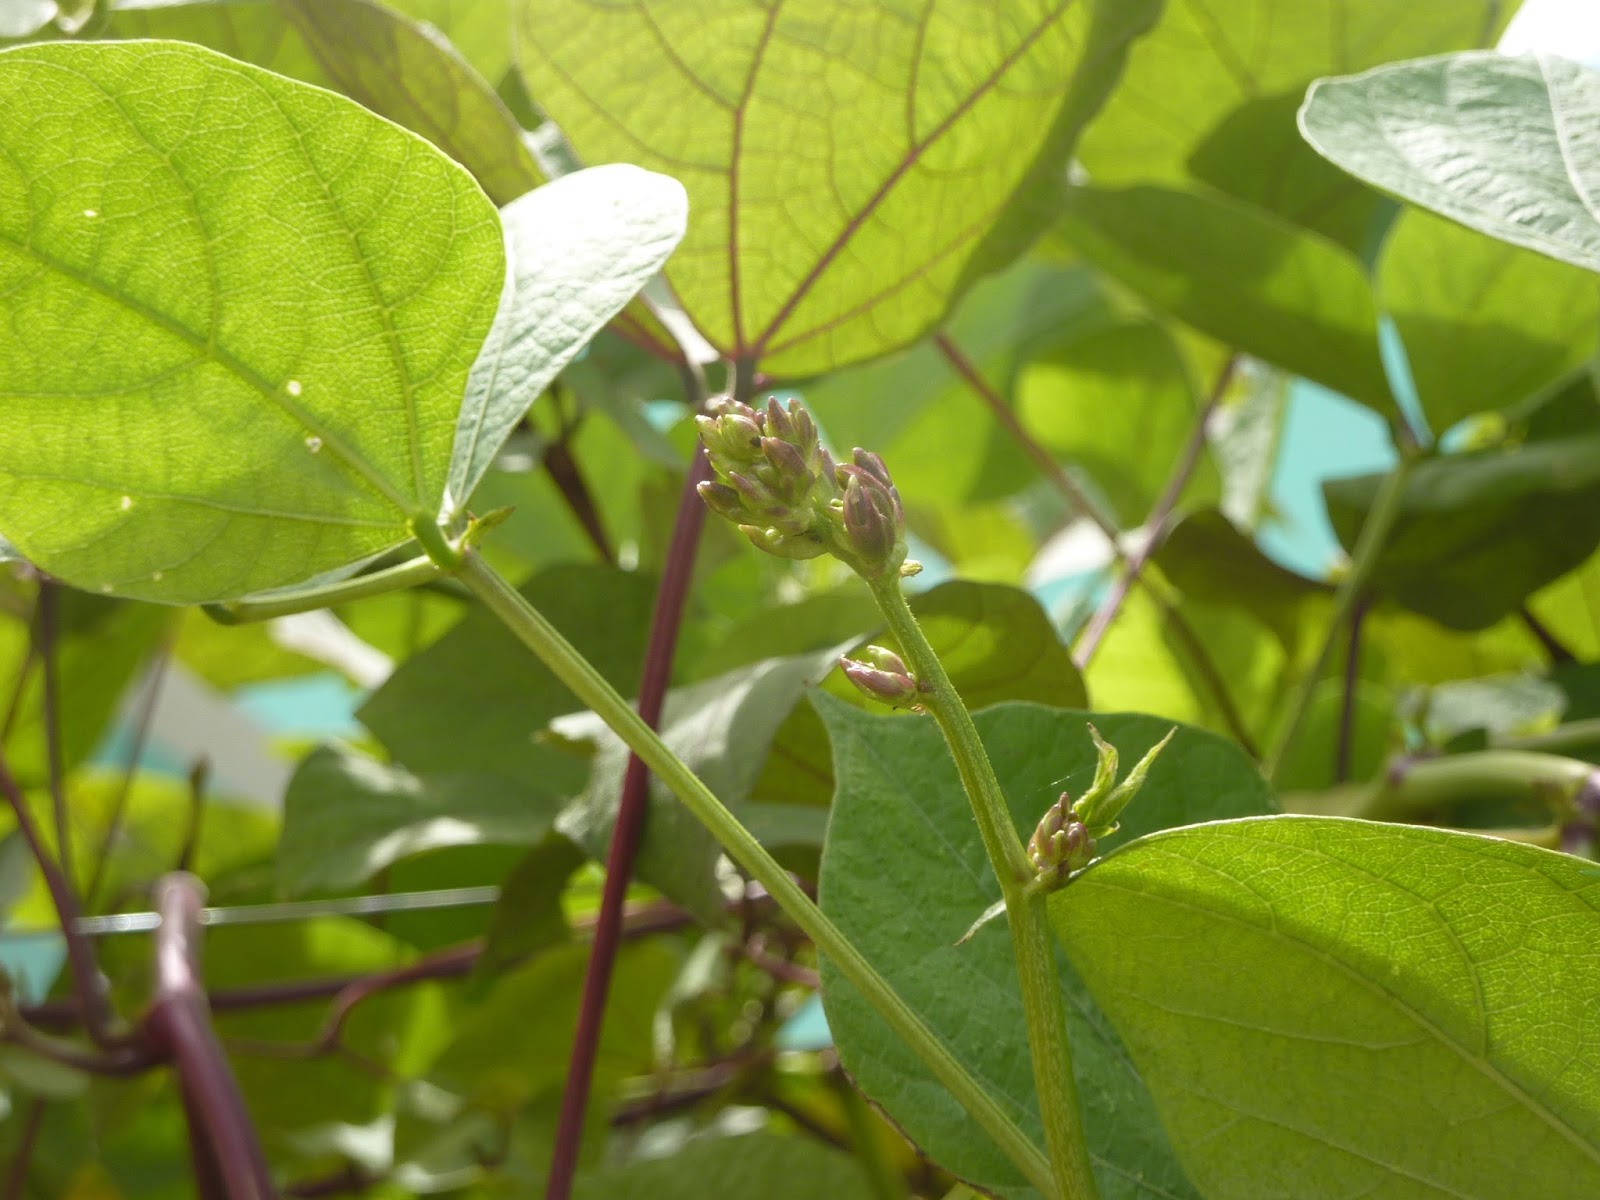
There are some more buds developing in the plants and so the garden is going to be colorful for the sometime now.